Introduction: Why Your Toilet Keeps Running
A constantly running toilet is one of the most common plumbing problems in homes across the USA, UK, and Canada. It wastes water, increases utility bills, and can become annoying very quickly. In many cases, the issue is not a major plumbing failure but something simple inside the tank.
Most of the time, the problem is related to the Toilet Float, which controls how much water fills your toilet tank. When it is not adjusted correctly, the tank either overfills or underfills, causing performance issues.
In this guide from Smart Home Fix (Fixing Homes, Enhancing Lives), you’ll learn exactly how to adjust it step by step, understand different types, and fix common toilet problems without calling a plumber.
What is a Toilet Float?
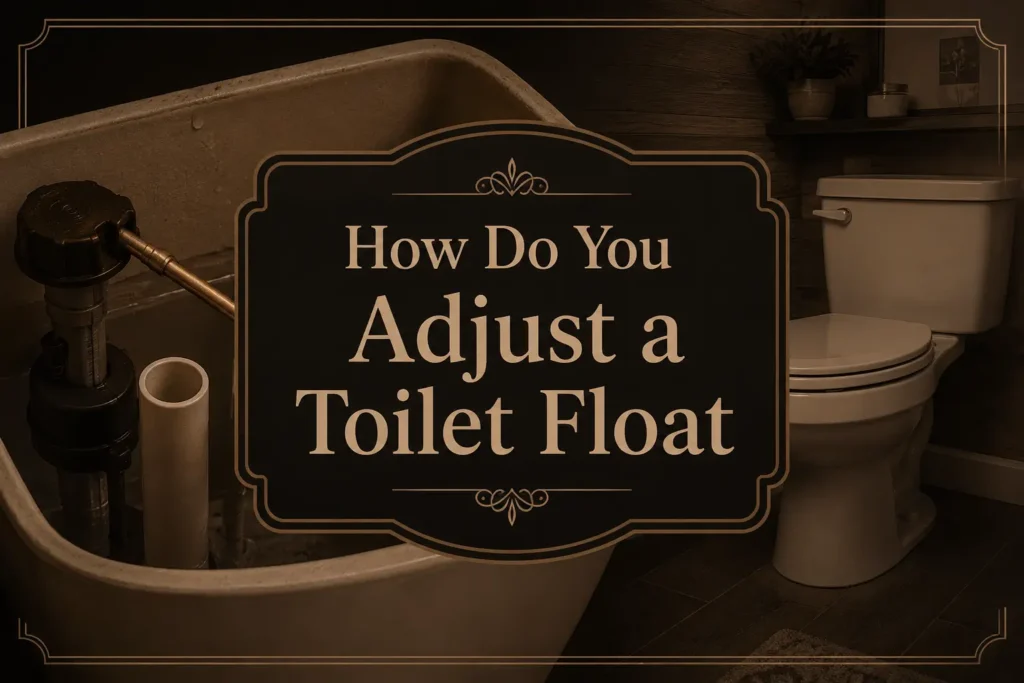
A Toilet Float is a small device inside your toilet tank that controls the water level. It moves up and down as water fills the tank, signaling the fill valve to stop or continue the water flow.
In simple terms, it acts like a “water level sensor.” When the water reaches the correct height, the float shuts off the valve to prevent overflow. If it’s set too high or too low, your toilet will not function properly.
A properly adjusted float ensures:
- Correct tank water level
- Efficient flushing
- No water wastage
- Quiet toilet operation
Quick Summary
- A Toilet Float controls the water level in the tank
- If your toilet runs continuously, the float is often the issue
- Adjusting it is simple and takes 5–10 minutes
- Different toilets have different float types
- No special tools needed in most cases
Types of Toilet Floats You May Have
Before adjusting, you must know what type of system you have:
Ball Float (Old Style)
A floating ball attached to a metal arm. Common in older homes.
Cup Float (Modern Style)
A vertical float that moves up and down along the fill valve.
Internal Float (Advanced Systems)
Built inside the valve. Found in newer, compact toilets.
Each type of Toilet Float works differently, but the adjustment method is still simple once you identify it.
Tools You Might Need
In most cases, you won’t need tools. But sometimes you may need:
- Screwdriver (flat or Phillips)
- Adjustable wrench
- Clean cloth or sponge
Step-by-Step: How to Adjust a Toilet Float
Step 1: Remove the Tank Lid
Carefully lift the lid off your toilet tank and place it in a safe spot. Ceramic lids can break easily.
Inside, you will see the flushing system, including the Toilet Float, fill valve, and overflow tube.
Step 2: Check the Water Level
Flush the toilet and observe how high the water rises.
The correct water level is usually about 1 inch below the overflow tube.
If the water is too high or too low, adjustment is needed.
Step 3: Identify the Float Type
Look carefully:
- If it has a ball → you have a ball float
- If it slides vertically → cup float
- If hidden → internal float system
This step is important because each Toilet Float adjusts differently.
Step 4: Adjust a Ball Float (Old System)
If you have a ball float:
- Locate the screw connected to the float arm
- Turn it clockwise to lower the water level
- Turn it counterclockwise to raise the water level
Make small adjustments and flush after each change.
This type is common in older US homes built before the 1990s.
Step 5: Adjust a Cup Float (Modern System)
For cup-style floats:
- Find the adjustment clip or screw on the side
- Slide the float up to increase the water level
- Slide it down to decrease the water level
This is the most common Toilet Float system today.
It’s quick and usually tool-free.
Step 6: Adjust Internal Float Systems
If your toilet has an internal system:
- Look for a small adjustment dial or screw on top of the valve
- Turn clockwise to lower the water level
- Turn counterclockwise to increase it
These systems are common in newer water-efficient toilets.
Step 7: Test the Flush
After adjusting:
- Let the tank refill
- Flush again
- Observe the water level and flushing strength
Repeat small adjustments until a perfect balance is achieved.
Common Problems and Fixes
The toilet keeps running
The Toilet Float is set too high or stuck. Lower it slightly.
Weak flush
The water level is too low. Raise the float a little.
No water filling
The float may be stuck in the “up” position. Clean or reposition it.
Overflow issue
The float is not shutting off the valve. Adjust downward immediately.
Real Example
A homeowner in Texas reported a constantly running toilet that increased water bills by $20–$30 monthly. The issue was a misaligned cup float. After adjusting the Toilet Float by lowering it just 1 inch, the water stopped running, and the bills normalized.
This shows how a small adjustment can make a big financial difference.
Maintenance Tips for Long-Term Performance
To keep your toilet working properly:
- Check float position every 6 months
- Clean mineral buildup inside the tank
- Avoid forcefully pushing the float mechanism
- Replace the fill valve every 4–5 years
A well-maintained Toilet Float system significantly reduces repair costs.
When You Should Call a Plumber
You should seek professional help if:
- The float is broken or cracked
- Valve is leaking continuously
- The internal mechanism is damaged
- Adjustments do not fix the issue
Even though most problems are DIY-friendly, some cases need expert repair.
Frequently Asked Questions
Why is my toilet still running after adjusting the float?
If your toilet still runs, the issue may be a faulty fill valve or a worn-out seal. The Toilet Float might be working fine, but other internal parts could be failing and need replacement.
How high should the water level be in a toilet tank?
The water level should stay about one inch below the overflow tube. This ensures proper flushing without wasting water or causing overflow issues.
Can I adjust a Toilet Float without tools?
Yes, most modern float systems can be adjusted by hand. Only older ball float systems may require a screwdriver for precise adjustment.
What happens if the float is set too low?
A low float reduces water in the tank, leading to weak flushing performance. This can cause waste not to clear properly and may require multiple flushes.
How long does it take to adjust a toilet float?
It usually takes 5 to 10 minutes. Once you identify the float type, the adjustment is quick and simple, even for beginners.
Final Wrap-Up
If your toilet is wasting water or not flushing correctly, adjusting the float is one of the fastest fixes you can try at home. With a few simple steps, you can restore proper water levels and avoid unnecessary plumbing costs.
For more practical home repair guides, visit Smart Home Fix (Fixing Homes, Enhancing Lives), where we break down complex household problems into simple, actionable solutions.